> ## Documentation Index
> Fetch the complete documentation index at: https://supermemory-capy-add-llmstxt-summary-and.mintlify.site/llms.txt
> Use this file to discover all available pages before exploring further.
# Zapier
> Automate memory management with Supermemory in Zapier workflows
With Supermemory you can now easily add memory to your Zapier workflow steps. Here's how:
## Prerequisites
* A Supermemory API Key. Get yours [here](https://console.supermemory.ai)
## Step-by-step tutorial
For this tutorial, we're building a simple flow that adds incoming emails in Gmail to Supermemory.
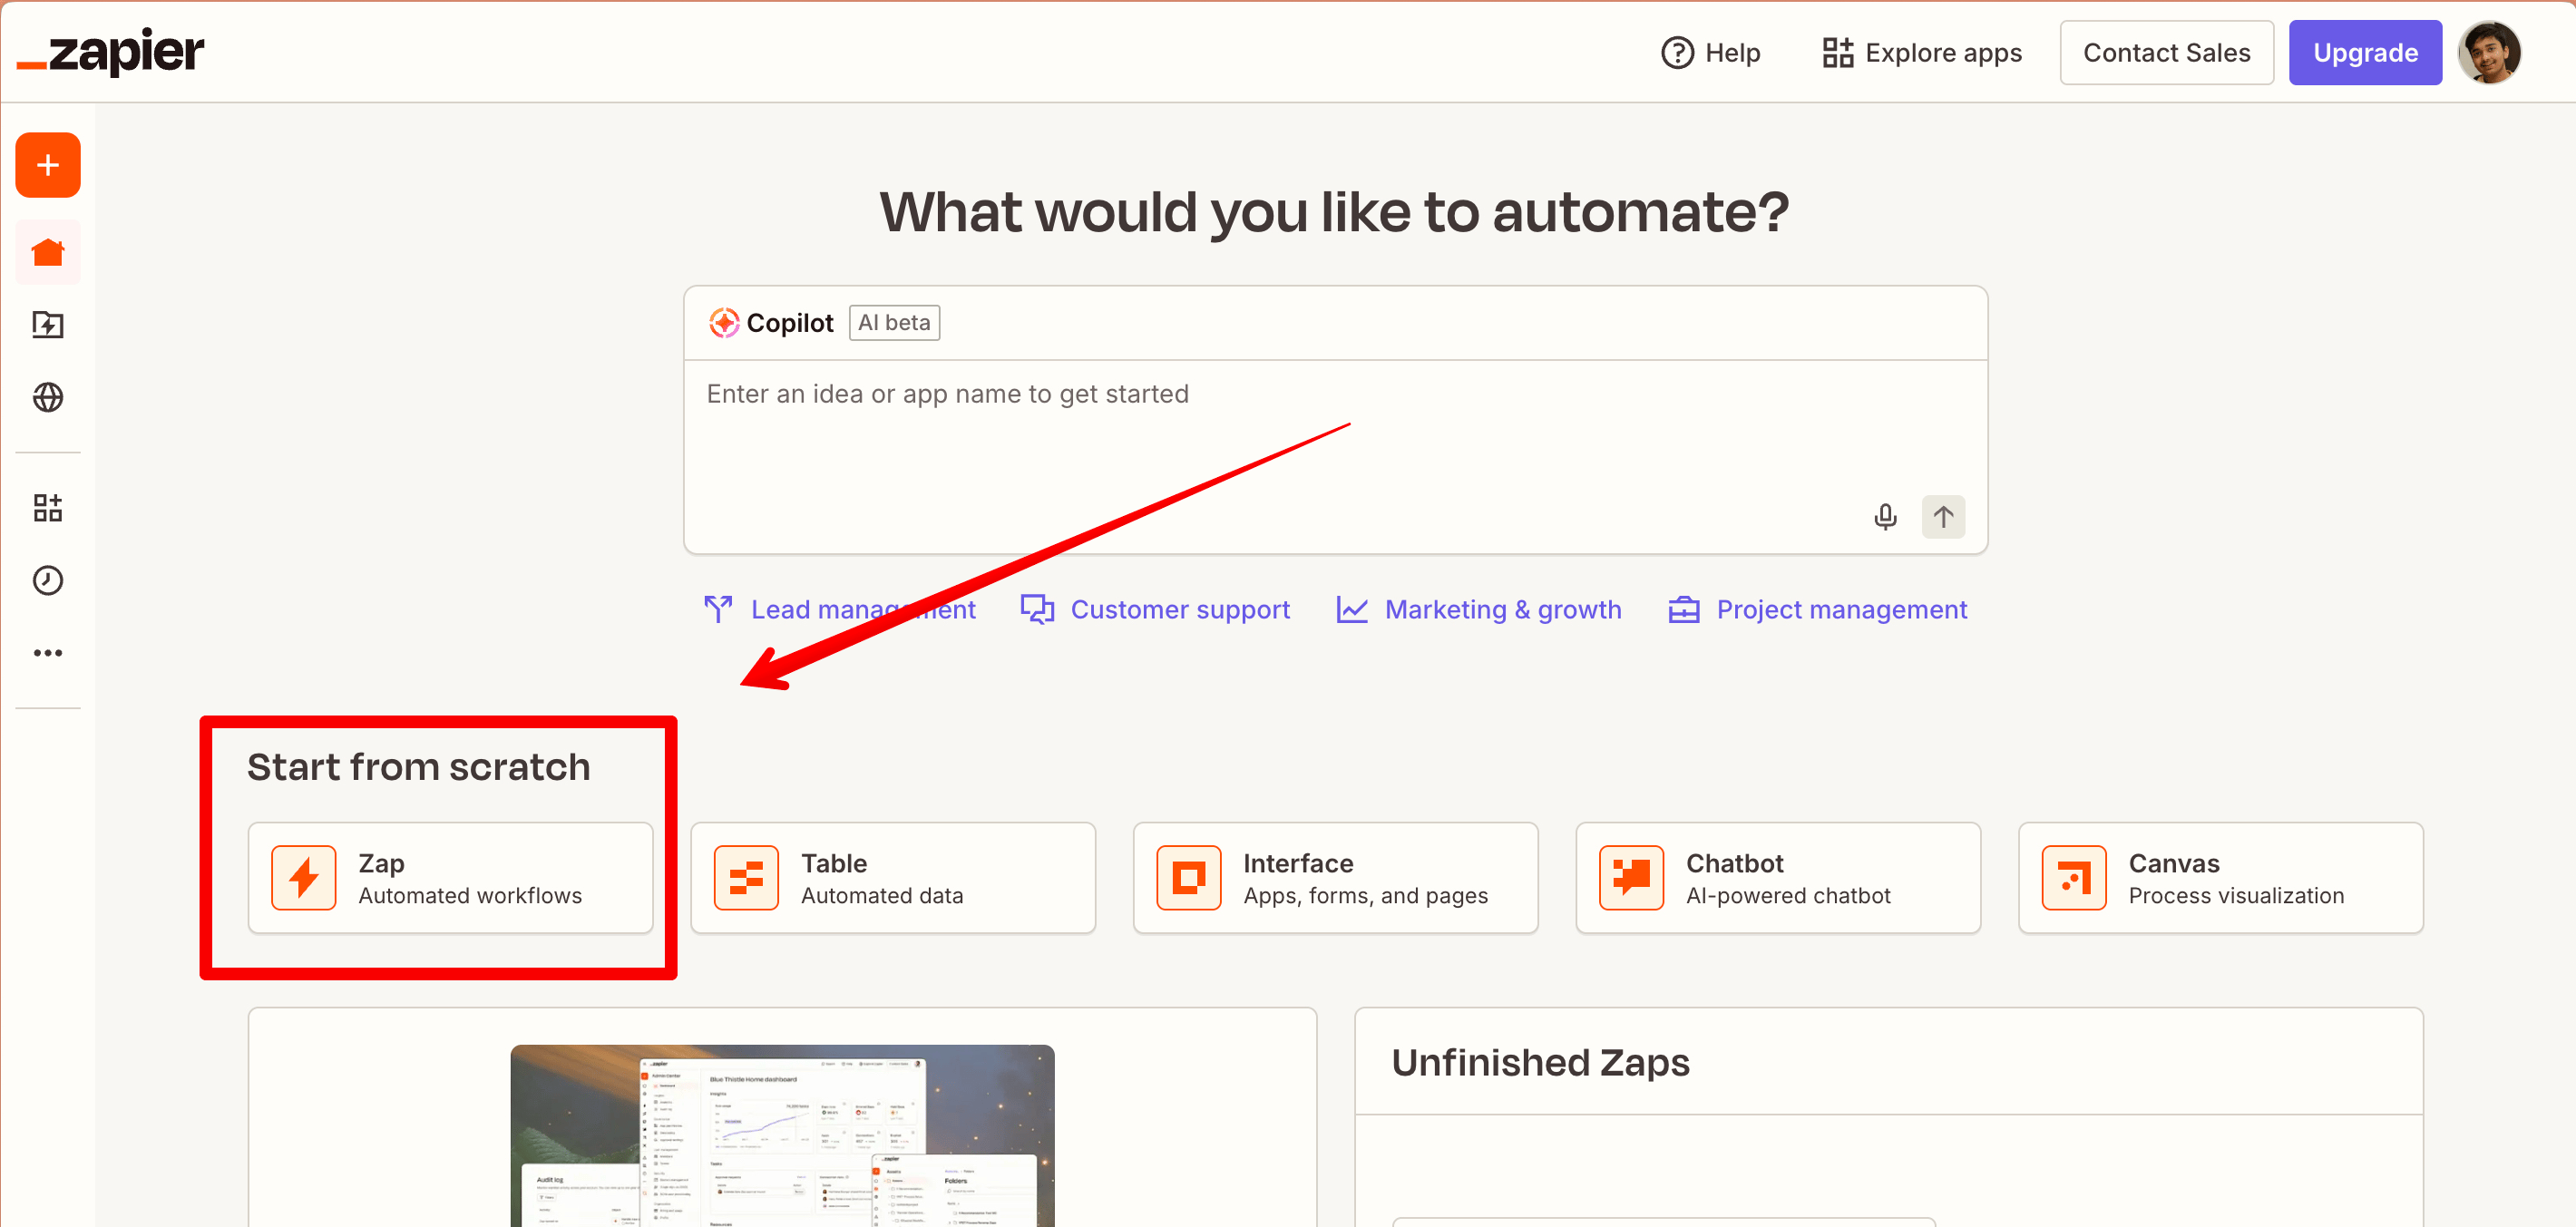
Open your Zapier account and click on 'Zap' to make a new automation.
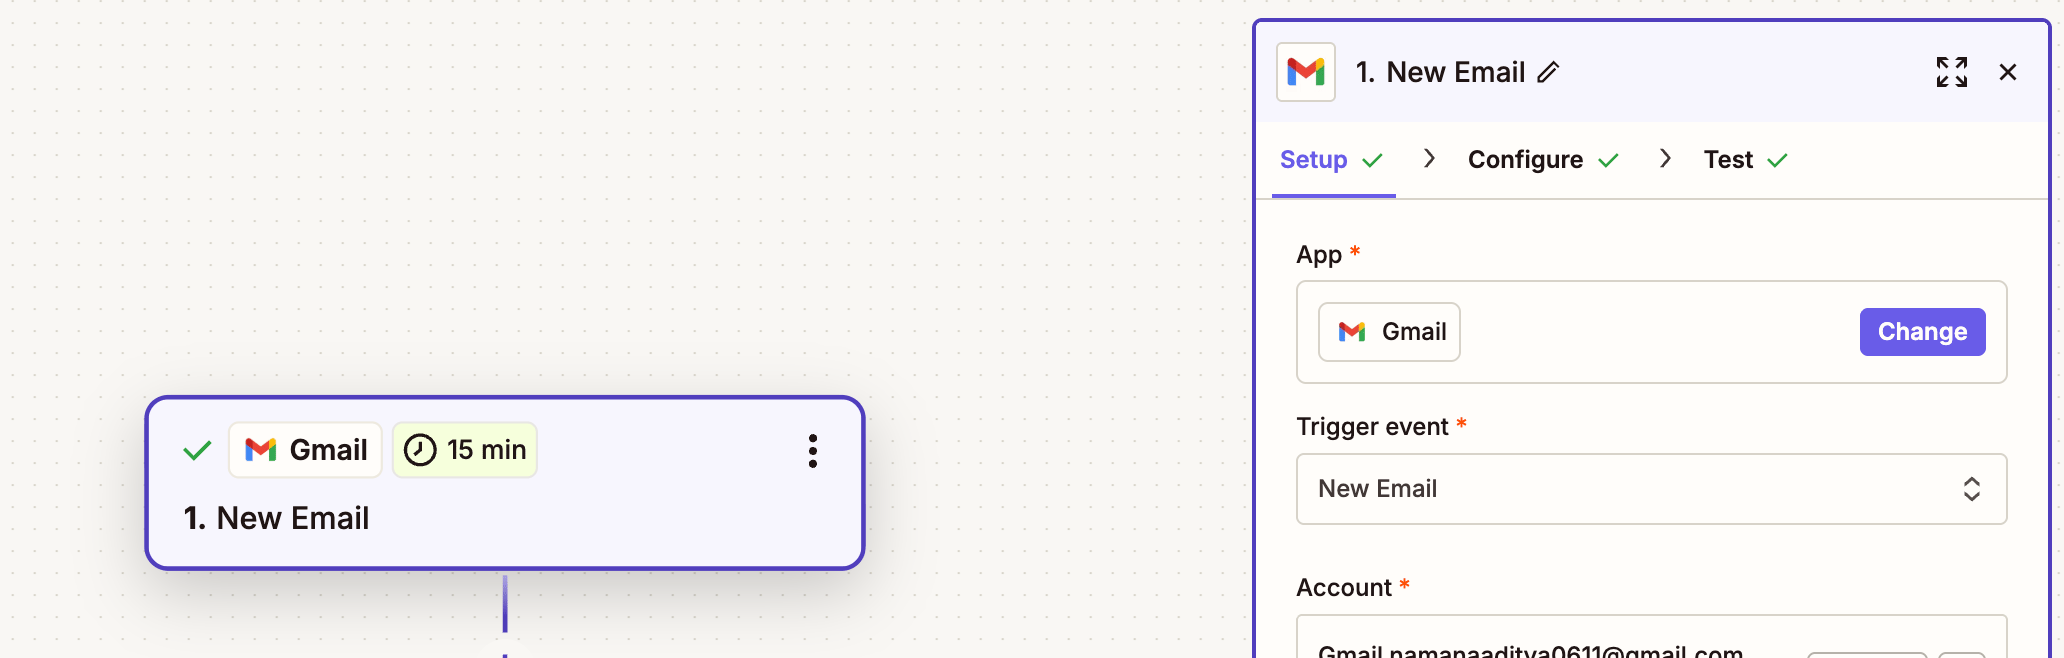
 Add a new Gmail node that gets triggered on every new email. Connect to your Google account.
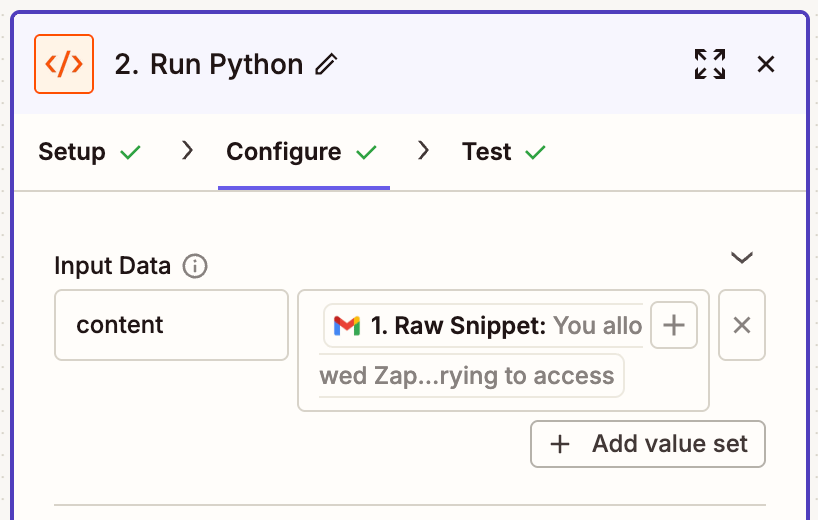
 Now, add a new 'Code by Zapier' block. Set it up to run Python.
In the **Input Data** section, map the content field to the Gmail raw snippet.
Now, add a new 'Code by Zapier' block. Set it up to run Python.
In the **Input Data** section, map the content field to the Gmail raw snippet.
 Since we're ingesting data here, we'll use the add documents endpoint.
Add the following code block:
```python theme={"theme":{"light":"github-light-default","dark":"github-dark-default"}}
import requests
url = "https://api.supermemory.ai/v3/documents"
payload = { "content": inputData['content'], "containerTag": "gmail" }
headers = {
"Authorization": "Bearer YOUR_SM_API_KEY",
"Content-Type": "application/json"
}
response = requests.post(url, json=payload, headers=headers)
print(response.json())
```
The `inputData['content']` field maps to the Gmail content fetched from Zapier.
Since we're ingesting data here, we'll use the add documents endpoint.
Add the following code block:
```python theme={"theme":{"light":"github-light-default","dark":"github-dark-default"}}
import requests
url = "https://api.supermemory.ai/v3/documents"
payload = { "content": inputData['content'], "containerTag": "gmail" }
headers = {
"Authorization": "Bearer YOUR_SM_API_KEY",
"Content-Type": "application/json"
}
response = requests.post(url, json=payload, headers=headers)
print(response.json())
```
The `inputData['content']` field maps to the Gmail content fetched from Zapier.
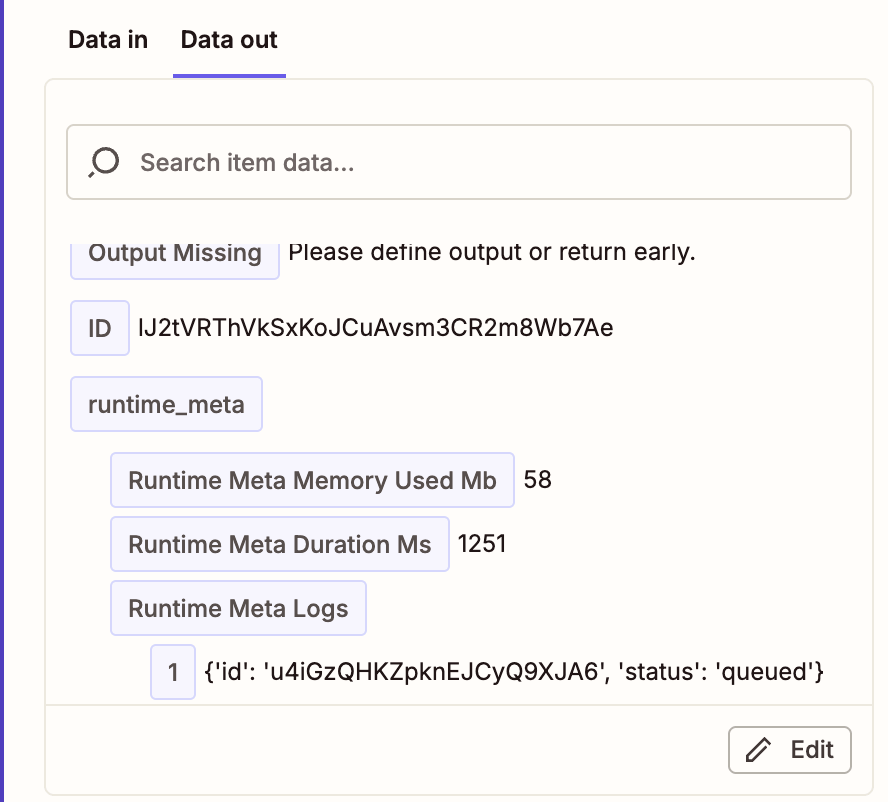 Sometimes Zapier might show an error on the first test run. It usually works right after. Weird bug, we know.
You can perform other operations like search, filtering, user profiles, etc., by using other Supermemory API endpoints which can be found in our API Reference tab.
This documentation is built and hosted on [Mintlify](https://mintlify.com), a developer documentation platform.
Sometimes Zapier might show an error on the first test run. It usually works right after. Weird bug, we know.
You can perform other operations like search, filtering, user profiles, etc., by using other Supermemory API endpoints which can be found in our API Reference tab.
This documentation is built and hosted on [Mintlify](https://mintlify.com), a developer documentation platform.